Blog · 5 min read
How to Make a Wedding Guest List and Seating Chart in Google Sheets
Build a wedding guest list in Google Sheets with RSVPs, meals, allergies and plus-ones, then turn it into a seating chart that fills itself in. Formulas and tips included.
Published · SoftPlan Treasures
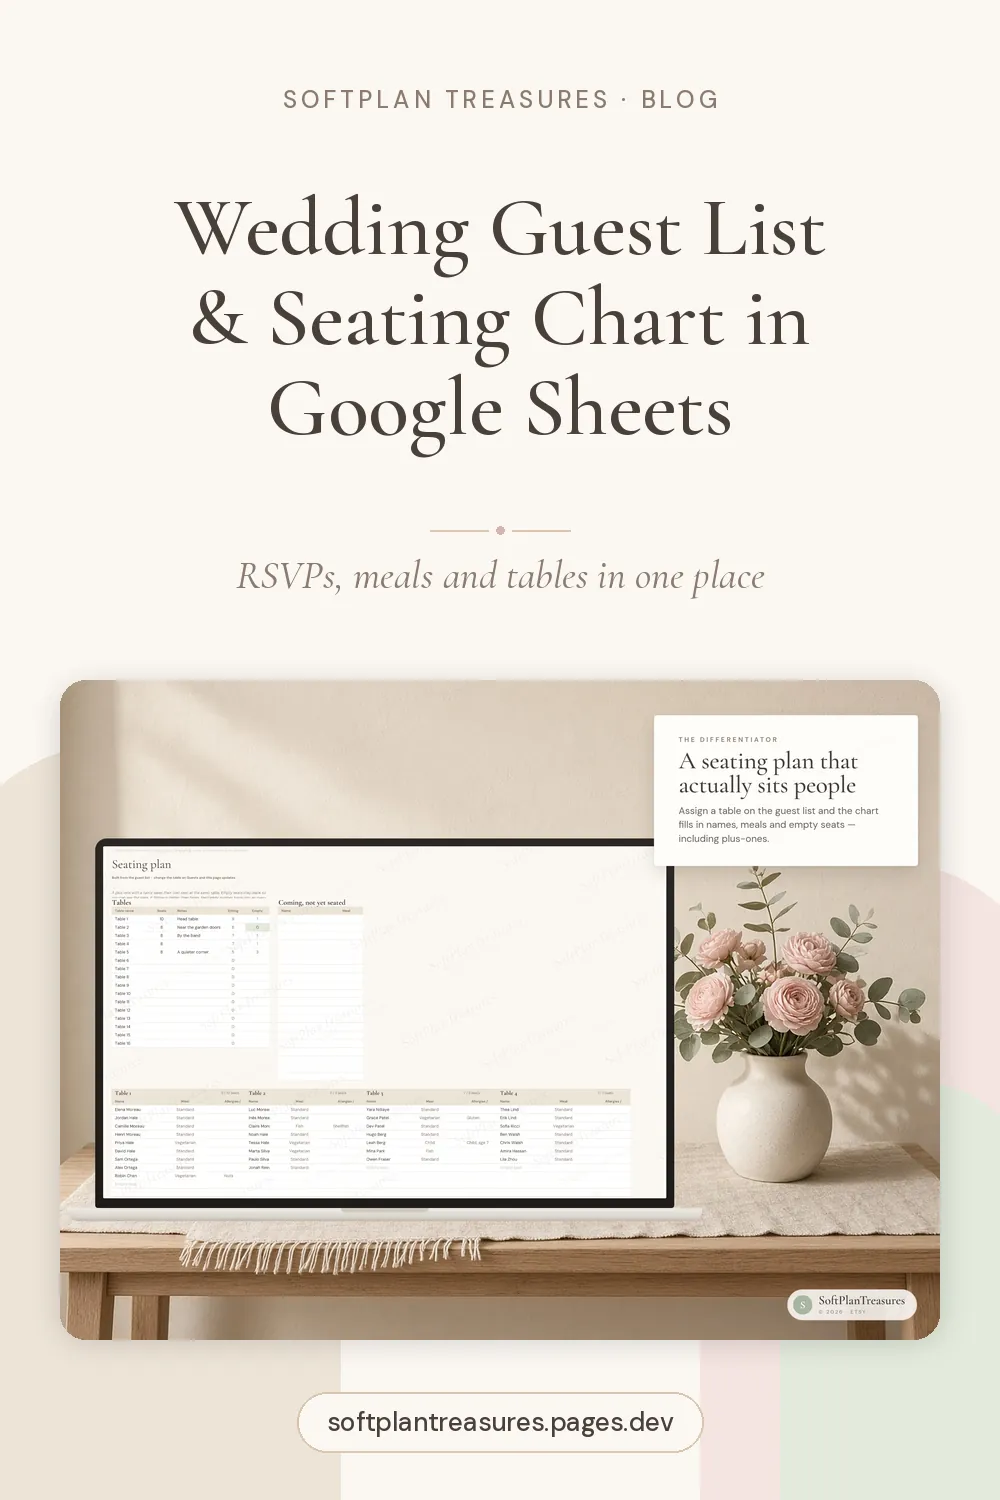
The guest list is the backbone of a wedding. It decides the size of the venue, the catering order, the number of invitations, and eventually the seating chart. Keep it in a spreadsheet and you get one source of truth that both of you can edit, from anywhere, and that does the counting for you.
Here's how to set it up in Google Sheets, and how to turn it into a seating chart that stays in sync.
Part 1: The guest list
The columns
Create a sheet called Guests and add these headers:
| Column | Example | Why |
|---|---|---|
| Name | Emma Hansen | One row per person, not per couple |
| Side | Both / Partner A / Partner B | Balancing the list |
| Group | Family, Friends, Work | Helps with seating |
| Invited | Checkbox | Who actually got an invitation |
| RSVP | Yes / No / Waiting | Use a drop-down |
| Meal | Meat / Fish / Vegetarian / Child | Use a drop-down |
| Allergies | Nuts, gluten… | For the caterer |
| Plus-one | Name or blank | Each plus-one gets their own seat |
| Table | 1, 2, 3… | Filled in later |
| Gift / thank-you sent | Checkbox | For after the wedding |
One row per person is the most important rule. Couples and families look tidier on one row, but meals, seats and RSVPs belong to individuals. When a plus-one is confirmed, give them their own row too.
Drop-downs make it reliable
Select the RSVP column and choose Data → Data validation → Add rule → Dropdown. Add Yes, No and Waiting. Do the same for Meal. Drop-downs stop "yes", "Yes" and "Y" from becoming three different answers that break your counts, and they're much quicker to tap on a phone.
The counts that matter
Put a small summary at the top or on a separate tab:
- Invited:
=COUNTIF(D2:D200, TRUE) - Attending:
=COUNTIF(E2:E200, "Yes") - Still waiting:
=COUNTIF(E2:E200, "Waiting") - Vegetarian meals (attending only):
=COUNTIFS(E2:E200, "Yes", F2:F200, "Vegetarian")
Repeat the last formula for each meal option, and you have a caterer-ready meal count that updates every time an RSVP comes in.
Colour that helps
Use Format → Conditional formatting to tint rows by RSVP: a soft green for Yes, grey for No, cream for Waiting. On a long list you'll instantly see who still hasn't answered.
Part 2: The seating chart
The usual way to make a seating chart is to copy names onto a separate layout by hand. The problem: when someone cancels or a plus-one is added, the chart goes out of date. A better way is to assign tables on the guest list and let the seating chart read from it.
Step 1: Assign a table number
Once RSVPs are in, fill in the Table column for everyone attending. Sort or filter by Group so you can seat families and friend groups together.
Step 2: Build a seating sheet that fills itself in
Create a sheet called Seating. Put table numbers across the top (1, 2, 3…). Under each number, use FILTER to pull in the guests assigned to that table:
=FILTER(Guests!A2:A200, Guests!I2:I200=B1, Guests!E2:E200="Yes")
Here B1 is the table number at the top of the column. Now every table lists its guests automatically, and anyone who changes their RSVP to No disappears from the chart.
Step 3: Check capacity
Under each table, count the seats taken and compare them with the table size:
=COUNTIFS(Guests!I2:I200, B1, Guests!E2:E200, "Yes")
Add a conditional formatting rule that turns the count pink when it's higher than the number of seats. You'll spot an overfull table long before the caterer does.
Step 4: Meals per table
Many caterers like to know meals per table. Use COUNTIFS with the table number, the RSVP and the meal type, and you have it.
Tips for a calm seating plan
- Seat the obvious groups first: close family, then the wedding party, then friend groups who know each other.
- Keep plus-ones with their partner. Always the same table.
- Think about the edges. Guests who need easy access, or parents with small children, might prefer a table near the door.
- Don't finalise too early. Wait until most RSVPs are in, then do it in one sitting.
- Print it. A printed seating chart is easy to hand to the venue coordinator on the day.
Share it with your partner (and only your partner)
Click Share and invite your partner as an editor. If a parent or a planner needs to see it, give them view-only access. Turn on File → Version history names for big milestones like "Invitations sent" so you can always go back.
Connect it to the budget
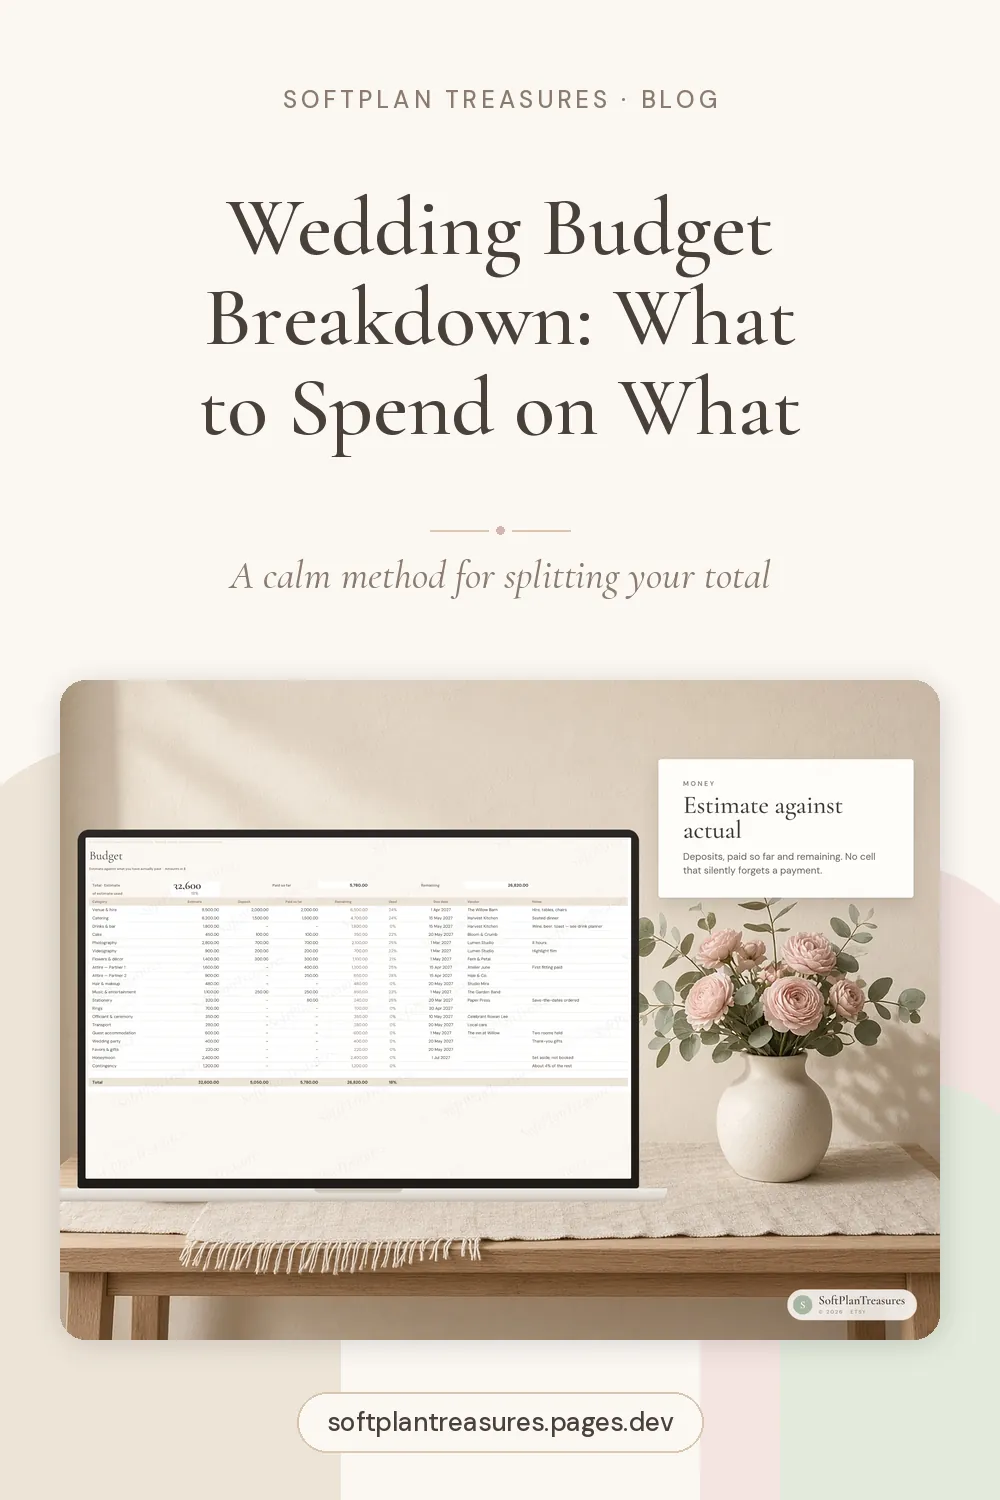
Your guest count drives a large part of the wedding budget, from catering to chairs. If the list and the budget live in separate places, it's easy for one to change without the other. Our wedding budget breakdown explains how to plan around that.
Or use a ready-made planner
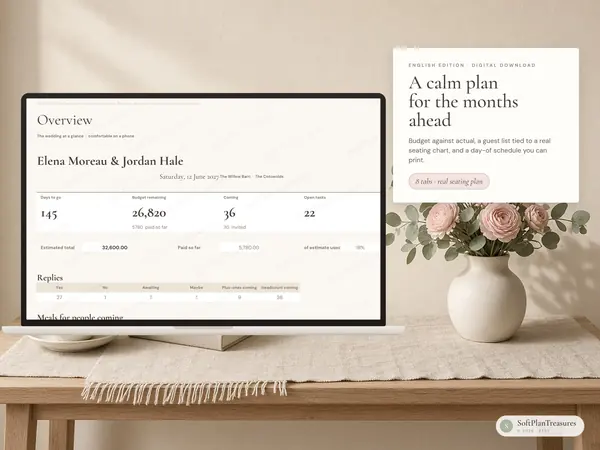
If you'd rather not build formulas, our wedding planner does all of this for you. The guest list tracks RSVP, meal, allergies, plus-ones, stay and gifts for up to 80 guests. Assign a table and the Seating tab fills in names, meals and empty seats for up to 16 tables, with a clear warning if a table is over capacity. Plus-ones automatically take their own seat at the same table, and meal counts are ready for the caterer.
It also includes a budget that subtracts what you've paid, a vendor list, a checklist that dates itself from your wedding day, and a printable day-of schedule. Planning in Norwegian? See our Bryllupsplanlegger.
One list, fewer headaches
A wedding has a hundred moving parts, but most of them depend on one list. Build it carefully, one person per row, with drop-downs and a table column, and the seating chart, the meal counts and even the thank-you notes follow from it.